
FILTER
FILTER

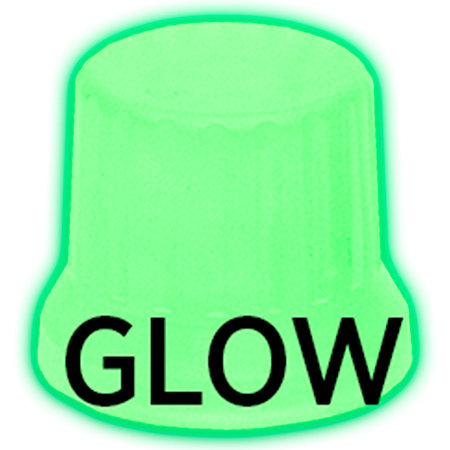
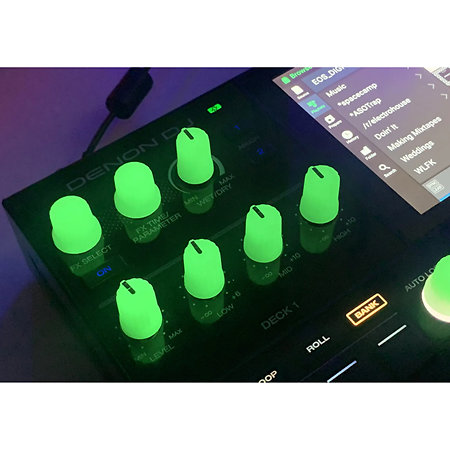
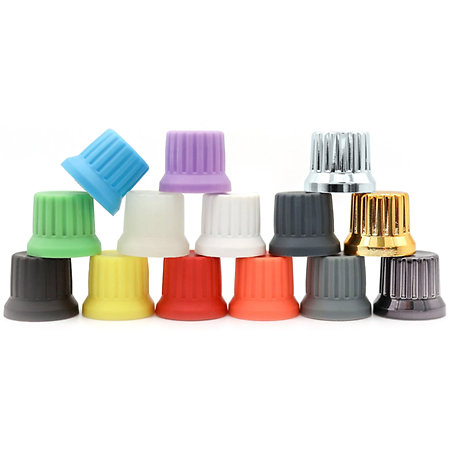
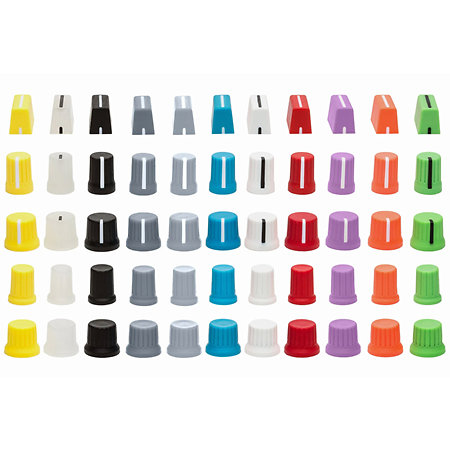


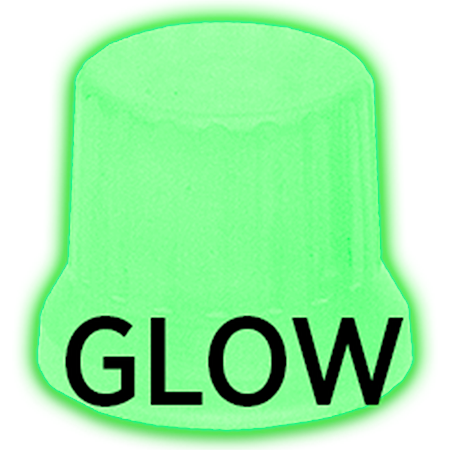
DJ TechTools - Chroma Caps v2 Encoder Pro Luma Glow
2,50 €
excl VAT
including eco-part : 0,07 €
In Stock
Shippable immediately
+infos

Quentin

Léon
Do you need help?
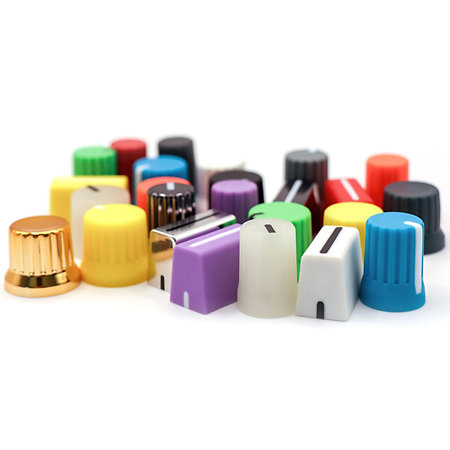
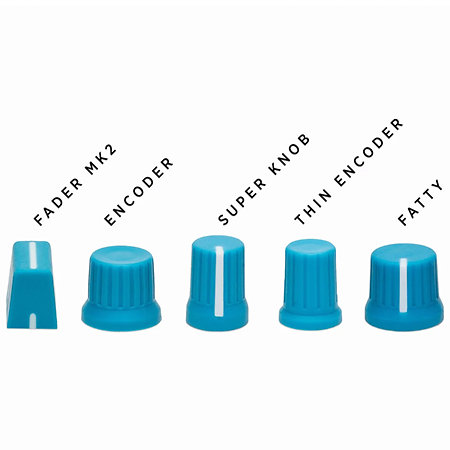
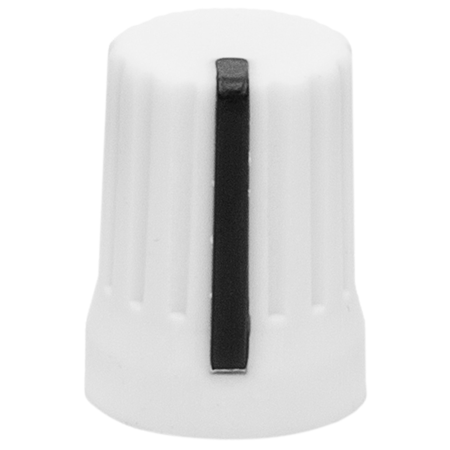
DJ TechTools Chroma Caps v2 Encoder Luma Glow. The brand is recognized in the world of Deejaying for these quality accessories Customize your controllers, DJ mixing desk with the Encoder V2 Black version.
ARTICLE N° 97896
DJ TechTools - Chroma Caps v2 Encoder Pro Luma Glow
DJ TechTools - Chroma Caps v2 Encoder Pro Luma Glow
2,50 €
excl VAT
including eco-part : 0,07 €
In Stock
Shippable immediately
+infos
Quentin
Léon
Do you need help?
Features
Accessory Type
Controller
Other features
-
DJ TechTools Chroma Caps Encoder V2 White
-
Color: White
-
Dimensions: Encoder knob base diameter: 18.5mm x 15.4mm height
-
Ideal for customizing your controllers or mixing console
-
Dense rubber coating
-
Material: Soft, soft-touch rubber
-
Non-slip for a good grip
-
Slightly rounded shapes
-
Compatible with many controllers such as Native Instruments, Pioneer and other brands (check compatibility at https://store.djtechtools.com/collections/chroma-caps-cables/products/chroma-caps-knobs-and-faders)
To find out more...
Be sure to check compatibility with your controller at https://store.djtechtools.com/collections/chroma-caps-cables/products/chroma-caps-knobs-and-faders
How do you replace your caps?
We've seen enough people bend or break their hardware. The guide below is a technique to avoid any mishaps when replacing your faders or encoders. Please take your time and be careful when removing the knobs.
- Pull straight up only, do not twist or wiggle the knob while pulling. (We find it easiest to lay the controller on the floor or a lower surface to get a better vantage point and pull straight up.)
- You don't want to damage your existing knobs. The best way to do this is to use a small piece of cardboard about 1 inch square (I use the top of a cereal box because it is flexible enough to bend around the knob. (A thick towel will work too)
- If you can't grab it with your hands, don't be afraid to use a pair of grips, pliers, etc. This is where the cardboard/towel you got in #2 will come in handy.
- Put a thick card (business cards work best!) between your gear and the cap when installing. This ensures that you don't push down too hard on the caps, which could cause the cap to rub against the face of your gear. (If you notice the cap rubbing, give the cap a little tug!)
Note: This is especially important on Pioneer DJ gear!
How do you replace your caps?
We've seen enough people bend or break their hardware. The guide below is a technique to avoid any mishaps when replacing your faders or encoders. Please take your time and be careful when removing the knobs.
- Pull straight up only, do not twist or wiggle the knob while pulling. (We find it easiest to lay the controller on the floor or a lower surface to get a better vantage point and pull straight up.)
- You don't want to damage your existing knobs. The best way to do this is to use a small piece of cardboard about 1 inch square (I use the top of a cereal box because it is flexible enough to bend around the knob. (A thick towel will work too)
- If you can't grab it with your hands, don't be afraid to use a pair of grips, pliers, etc. This is where the cardboard/towel you got in #2 will come in handy.
- Put a thick card (business cards work best!) between your gear and the cap when installing. This ensures that you don't push down too hard on the caps, which could cause the cap to rub against the face of your gear. (If you notice the cap rubbing, give the cap a little tug!)
Note: This is especially important on Pioneer DJ gear!
You may also like
Spotlight on

Equivalent products
Tops of the brand
DJ TechTools - Chroma Caps v2 Encoder Pro Luma Glow
2,50 € excl VAT